Our Location
1250 Beacon Street
Brookline, MA 02446
Learn how to keep your split AC running smoothly with our guide on cleaning split AC at home. Simple steps for a fresher, cooler space!
Did you know a clean split air conditioner runs up to 20% more efficiently? Keeping your split AC clean boosts its performance and improves the air you breathe. It also adds years to the AC’s life. This guide will show you how to clean your split AC yourself. It’s easy enough for anyone to follow, whether you’re a DIY pro or a newbie. So, let’s get started!
Cleaning your split AC unit is very important. Doing it often helps it work better and improves the air inside your home. Knowing how to take care of your AC can save you from spending a lot on repairs. It also makes sure your AC works great for a long time.
Keeping your AC clean has many key benefits:
There are signs that show when your split AC needs a check. Keep an eye out for these:
Noticing these problems early can stop bigger ones later. Staying on top of maintenance is a wise choice for homeowners.
Before you start cleaning your split AC, you need the right tools and supplies. Having the necessary items will make the cleanup quick and safe. Below, we’ll talk about the essential tools and best cleaning solutions for a thorough clean.
Here are the must-have tools for cleaning your AC:
Choosing the best cleaning solutions is key for good AC care. These are the top recommended options:
When you clean your AC, safety is key. Always make sure you’re in a safe space before you start. By following certain safety steps, you can avoid accidents and injuries while cleaning your AC.
Turning off your AC at the circuit breaker is crucial for a safe clean. This step keeps you safe from electric shock when you take apart the AC. If you forget to power it off, you could get seriously hurt.
It’s important to wear the right safety gear when cleaning your AC. Gloves, safety goggles, and dust masks can protect you from dangers. These include mold, dust, and sharp parts. Wearing this equipment helps you see better and breathe easier, making cleaning your AC safer and more effective.
To clean your split AC, begin by taking it apart carefully. Make sure to follow step-by-step AC disassembly so you don’t damage any parts. This will help you clean every bit of it successfully.
First, find the main cover on the indoor unit. You might need to unscrew or open latches to get inside. This is key for accessing indoor unit parts, which lets you clean and maintain your AC better.
After opening the indoor unit, take out the removing the air filter. Pull it out gently to avoid any damage. Then, shake off dust and debris. You can also vacuum it for extra cleanliness. If it’s very dirty, wash it lightly with soap.
Next, remove the front panel. You may have to unscrew or unclip it. Handle it carefully to avoid breaking anything, which makes putting it back together easier later.
Keeping your split AC in good shape means cleaning the air filter regularly. A clean air filter helps your AC work better and makes the air in your home cleaner. If you let dust and dirt build up, your AC will have to work harder. Knowing how to clean your AC’s filter the right way keeps it running smoothly.
Cleaning your split AC filter isn’t hard. Start by taking the filter out of the AC. Then, rinse the filter with cool water. If the filter is very dirty, you might need to use a mild detergent. Make sure the filter is totally dry before you put it back. Doing this maintenance every 1-2 months helps your air conditioner work its best.
Knowing when to get a new AC filter is also key. You should replace disposable pleated filters every 1-3 months, especially when you’re using your AC a lot. Keeping an eye on the filter’s condition helps you avoid bigger problems and keeps your AC efficient.
| Filter Type | Cleaning Frequency | Replacement Frequency |
|---|---|---|
| Mesh Filters | Every 1-2 months | N/A |
| Pleated Disposable Filters | N/A | Every 1-3 months |
| Washable Filters | Every 3-6 months | N/A |
It’s key to regularly disinfect the indoor part of your split AC. This kills allergens and germs that gather over time. Using the right cleaners and methods not only keeps your AC running longer. It also keeps your home’s air safe.
Pick EPA-approved cleaners made for HVAC systems when cleaning your split AC. These disinfectants work well and meet safety standards. Always check the label to make sure it’s safe for indoors and follow the directions closely.
Cleaning your split AC safely is very important. Here are some safety tips:
| Product Name | Type | Usage Instructions |
|---|---|---|
| RMR-86 | Surface Disinfectant | Spray on surfaces, let sit for 10 minutes, and wipe clean. |
| Zep Antimicrobial | Aerosol Spray | Apply directly to indoor unit surfaces, allow to dry. |
| Clorox Clean-Up | Multi-Surface Cleaner | Use on external surfaces, let dwell for 5 minutes, and rinse if necessary. |
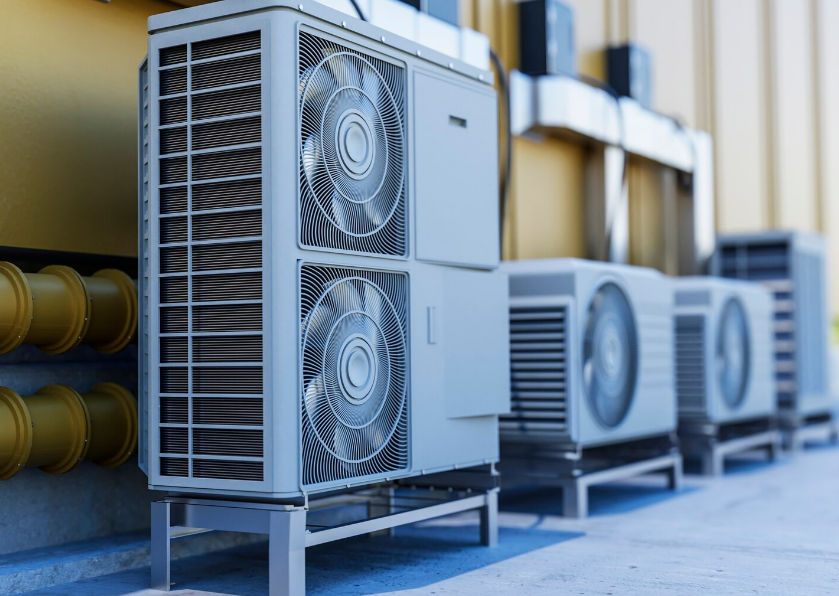
The outdoor unit is vital for your air conditioning to work well. If you ignore its upkeep, your cooling system won’t work as it should. It’s very important to clean the outdoor AC unit regularly. Knowing how to clean it, wash the coils, and understanding the importance of this maintenance can make your unit last longer and run better.
First, check your outdoor AC unit for any dust, leaves, or other junk. Clean off the debris with a vacuum and a brush attachment. This step helps airflow easily, making your AC work its best.
Next, clean the coils by rinsing them with a garden hose on a gentle setting. Don’t use strong water pressure because it could damage the coils. Washing the coils often is crucial for effective cooling and great performance.
Keeping up with outdoor maintenance is key to a well-working system. If you don’t, your AC might not cool properly, use more electricity, or even break down. Regular care boosts your unit’s lifespan and assures cool air when it’s hot outside.
After cleaning your split AC, it’s crucial to put it back together carefully. Paying attention during this step makes sure your AC works well and lasts longer. Follow these steps to properly reattach parts and make your AC run smoothly.
For a successful reassembly of your split AC:
It’s important to check a few things before turning your AC back on:
Effective split AC maintenance requires you to be ahead of the game. Setting up a regular cleaning schedule is key. Make sure to clean or swap out your air filters every month or two. This keeps the air flow strong and your system working well. Also, clean the coils and check the drain lines once every season. Doing this not only boosts cooling but also extends your AC’s lifespan.
It’s smart to book seasonal checks with a skilled technician too. They can find and fix problems early, stopping sudden breakdowns. Accurate records of your AC’s upkeep are very important too. They help you spot and deal with issues quickly. This forward-thinking approach is crucial for keeping your AC running smoothly.
Ongoing maintenance isn’t just about cleaning. It’s about keeping your split AC in top shape. With regular care and attention, your AC will cool efficiently all summer. Plus, you’ll cut down on energy bills.